
Excel files (XLS) are one of the most common translation formats for Game Lockits, as it is one of the most convenient ways for developers to keep all localization-related data in the same place. As a translator, you need to be able to import those in your CAT Tool of choice, especially for bigger files.
With this MemoQ guide, you’ll import your files, comments, limits, and other essential data in no time!
This guide will not cover the Translation Project creation process – you can learn more here.
Step 1 – Importing the file
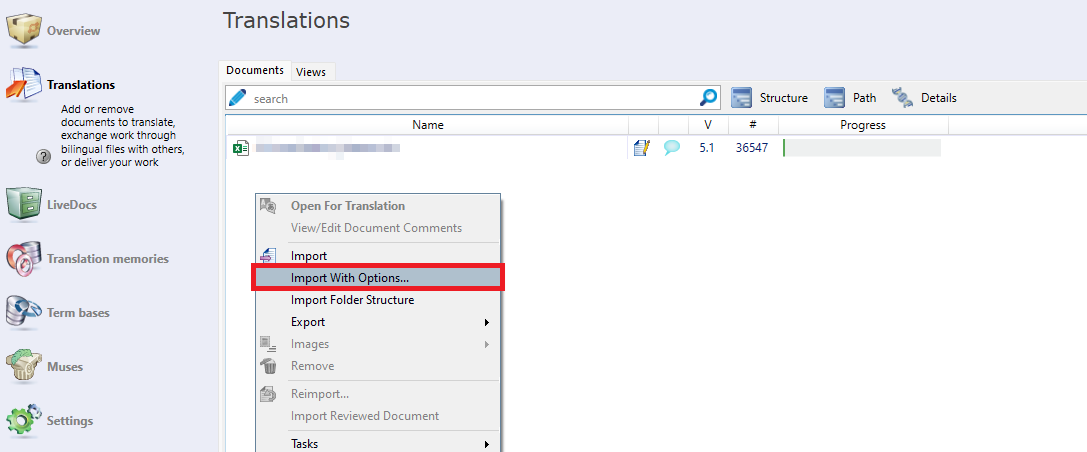
Before importing the file, make sure that it is not currently opened in Excel. Then, create a new translation project or open an existing one, right-click in the Translations window, and select “Import With Options…”:
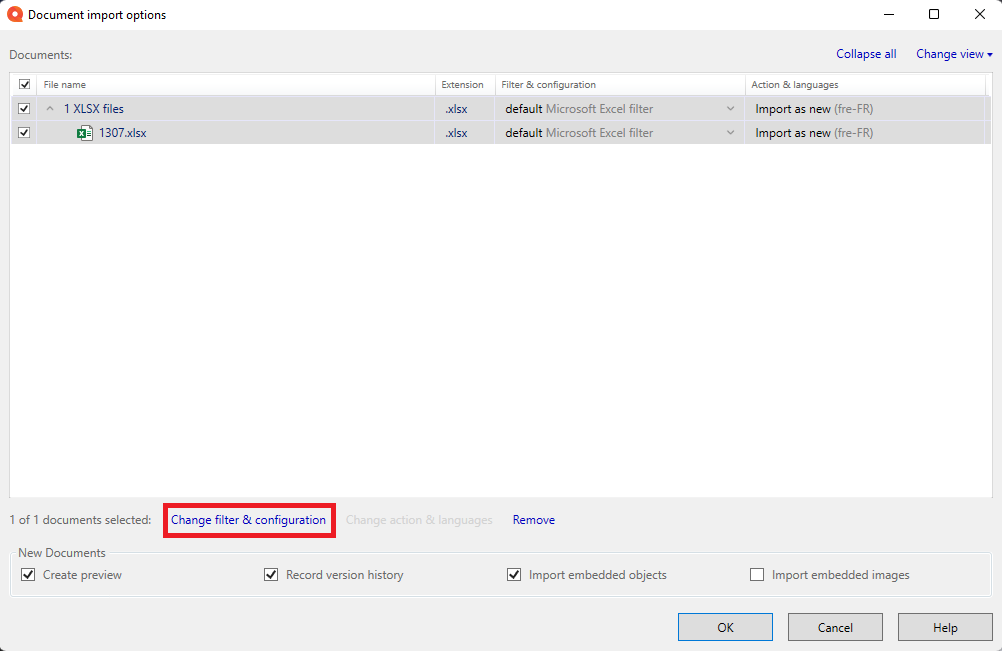
Then, select “Change filter & configuration”:
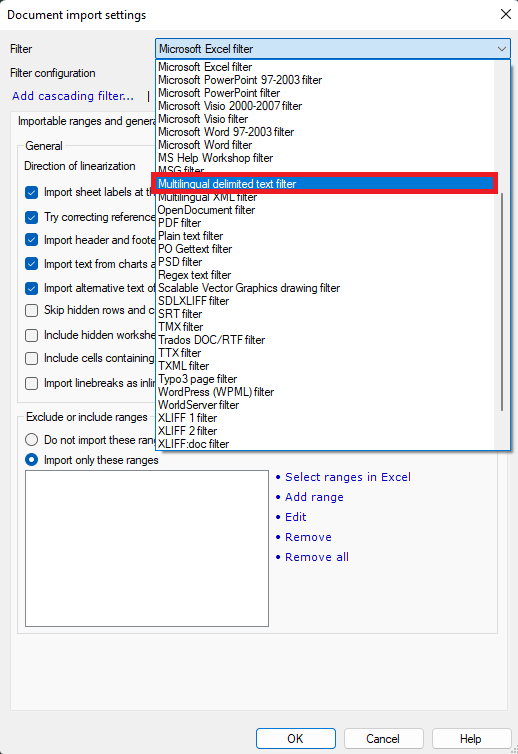
From the dropdown list, select “Multilingual delimited text filter”:
The next step is where the magic happens – in the Columns tab, you’ll be able to select each column of each sheet and define what they are: Source, Translation, Comments, Length limits, and more. If needed, you can now open the original Excel file to find what each column represents.

Once you are done, I would recommend you save the configuration you just created with the small floppy disk icon with a red “+”. Click OK and let the import magic happen – ta-da, your file and all of its content should now be ready for translation!
If you realize that you messed up the import in any way (wrong column definition, forgot to include a sheet, etc.), fret not: you can change the parameters at any time by right-clicking your file, selecting “Reimport…” and repeating the process above. Using this method, your current configuration will already be saved, and you won’t need to start from scratch. Make sure to overwrite your settings with the floppy disk icon.
The perk of using custom filters as described above is that if your client sends you a new version of the file, you can reuse your previous configuration and save valuable time! Of course, if there are significant changes to the structure of the file (new sheets added, source text is now in column D instead of C, etc.) you’ll need to start over and redefine the meaning of each column.
Step 2 – Preparing the file
Now that your lockit is ready, you can start translating! Eh, almost: there are still a couple of steps that you can follow to speed up the translation process on the long run.
Deleting existing content
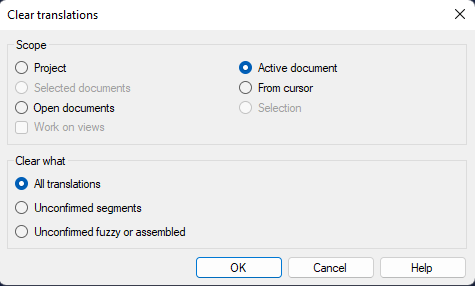
Sometimes, your lockit will include leftover/unwanted text in translation columns: lorem ipsum text, machine translation leftover, fragment-assembled segments, etc. You can delete the content in each segment manually, but this is a tedious process, so why not get rid of it all at once? To do so, right click any segment and select “Clear Translations…”

In the next window, select what you want to delete: I usually go with “All translations”:
If you delete content that you didn’t mean to, press CTRL + Z to restore it.
Pre-translating the file
If you have an active Translation Memory (TM) attached to the project, you can use the Pre-translate feature to pull data from it and fill the lockit with segments already translated. Of course, if this is a new project and your TM is empty, you can skip this step.
To do so, right-click any segment and select “Pre-Translate…” as described above. This should open this window:
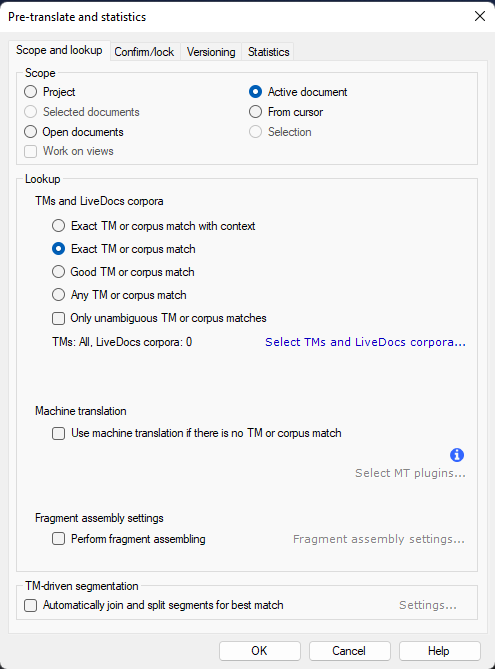
You have a lot of options from there which I won’t go into detail (you can learn more here), but I’d recommend simply selecting “Exact TM or corpus match” like in the picture above.
Tagging out the tags
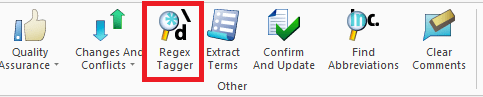
The vast majority of game lockits include formatting/variable/line break tags, which are basically static content that should not be translated. For example, color markers such as <color=0eafff>those</color> or an item tag like {0}. Since this content doesn’t need to be translated, we can transform them into “tags” and make sure they remain exactly as-is. To do so, go to the Preparation menu and select Regex Tagger:
Now, Regex is a whole other rabbit hole that is used for a lot more than just tagging, but if you’re not too familiar with it, follow these steps to tag out the most basic content. Thankfully, MemoQ includes a preset called Tags and entities that covers 99% of basic tags such as /n (linebreaks) {squiggly brackets} and <arrow brackets>:
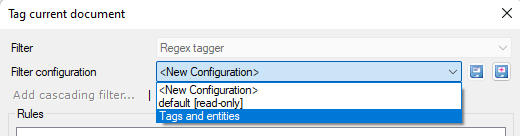
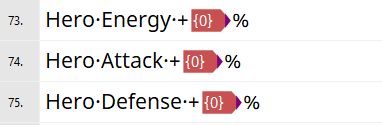
Select Tags and entities, press OK, and tags should be converted accordingly in red:
And if you want to go even further, you can use the list below to tag out even more non-standard content!
[Tags]
\[.*?\]

{Tags}
\{.*?\}

\n tag
\\n

\\n tag
\\\\n

@ tag
\@

%s tag
(\%s)

_Tag_
_([^_]+)_
Important: if you would like to “untag” your tags, you have two options:
- Press CTRL + Z immediately after applying the filter. This will only work if this was your most recent action.
- If you realize later on that you made a mistake, use Find and Replace with the following code:
Find what: </?mq:rxt(?:-req)?.*?val="(.*?)".*?>
Replace with: $1
You can also save the above in the Regex Assistant Library if you ever need to use it again.
Thanks to Mark Pawelec for this tip!
Step 3 – Saving your filters
Once you are done with everything, you can combine both your Regex settings and your Import settings into a Cascading Filter. To do so, open the Resource Console and choose Filter configurations. Under the list, click Create new cascading filter:
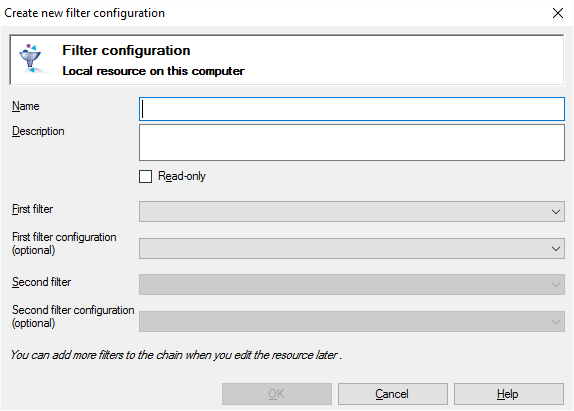
Give it a name and a description, save everything, and you’re off to the races!
Thanks to Santiago de Miguel for this tip!
Conclusion
And there you have it! Now your file should be all ready for translation. All those steps look like a lot of work, but the hardest part is getting used to it – after your first few imports, this will become second nature, and you’ll import/prepare your files in a matter of seconds!
Are there any parts of the import/preparation process you’d like to learn more about? Contact me directly at me[at]luciledanilov.com!
