
When it comes to increasing productivity as a translator, few things come close to MemoQ’s Muse feature: this tool allows you to leverage your existing TMs, to display predictive typing suggestions. This allows you to type a few letters of any given word, expression or sentence and get the rest auto-completed, much like the predictive typing feature on any mobile device.
What is the Muse?
Since an image is worth a thousand words:

In this example, the words “chance to increase […] damage” was correlated with existing entries in the Muse (since I trained it on my own game-related TMs), which gives me multiple options. In this case, the correct one would be option 4, “augmenter les dégâts”, only from typing the first 4 characters “d’au” – effectively saving 18 character strokes (19 if you count the extra keystroke needed to type “â” – thanks, AZERTY layout!).
This might not seem like much, but multiplied by the amount of times terms like “reward”, “enemy” or “skill” come up in any given file, you can imagine how much time it saves on the long run, especially when combined with Fuzzy matches from TMs.
Since I’ve aggregated quite a lot of data of my own translations over the years, I would say that on average, I only type about 70% of my words – the rest being picks from my Muse. This includes narrative content: Have you ever wondered how many times you had to write stock sentences like “I don’t know” or “What’s happening”? Well, I haven’t fully spelled those out in years!
Now, you might ask yourself: “Why can’t I simply add all my TMs to the project to get matches?” – this is a valid reasoning, but here’s why you might want to avoid that:
- TMs are “heavy” resources, doubly so when they reach a certain amount of entries. Adding dozens of TMs to a single project would be counterproductive, as it would likely take ages to load the relevant segments
- Depending on how your TMs are segmented, you might need to read through entire sentences to find the bits you need
- Having a list of options generated on the fly allows you to focus your attention on the segment itself, not on resources available elsewhere
Creating, Training and Using the Muse
Creating a Muse only takes a few minutes! First off, open any project, go to the Muse category, and select Create/Use New:
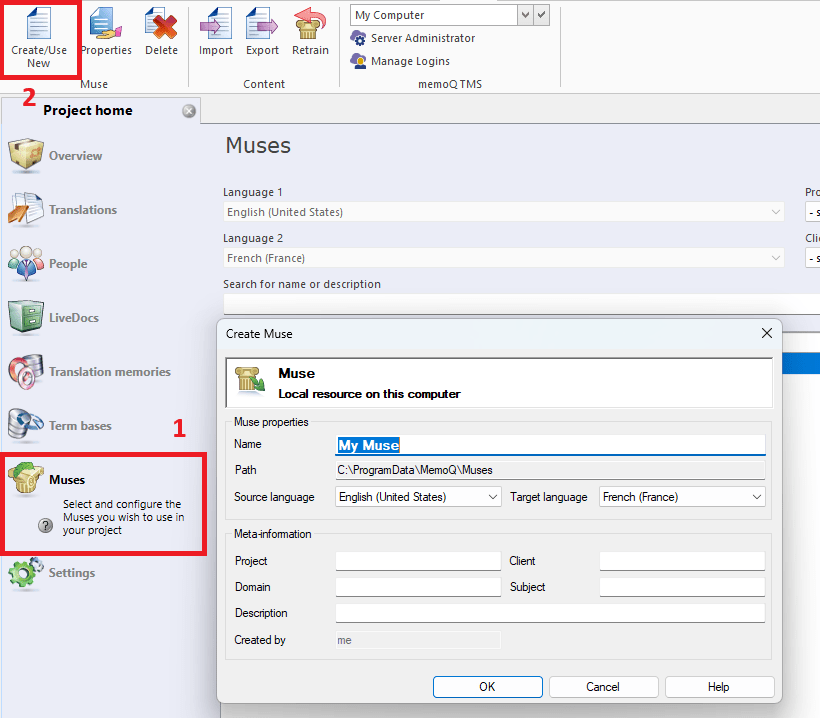
Give it a name, select “OK”, and the following menu will appear:
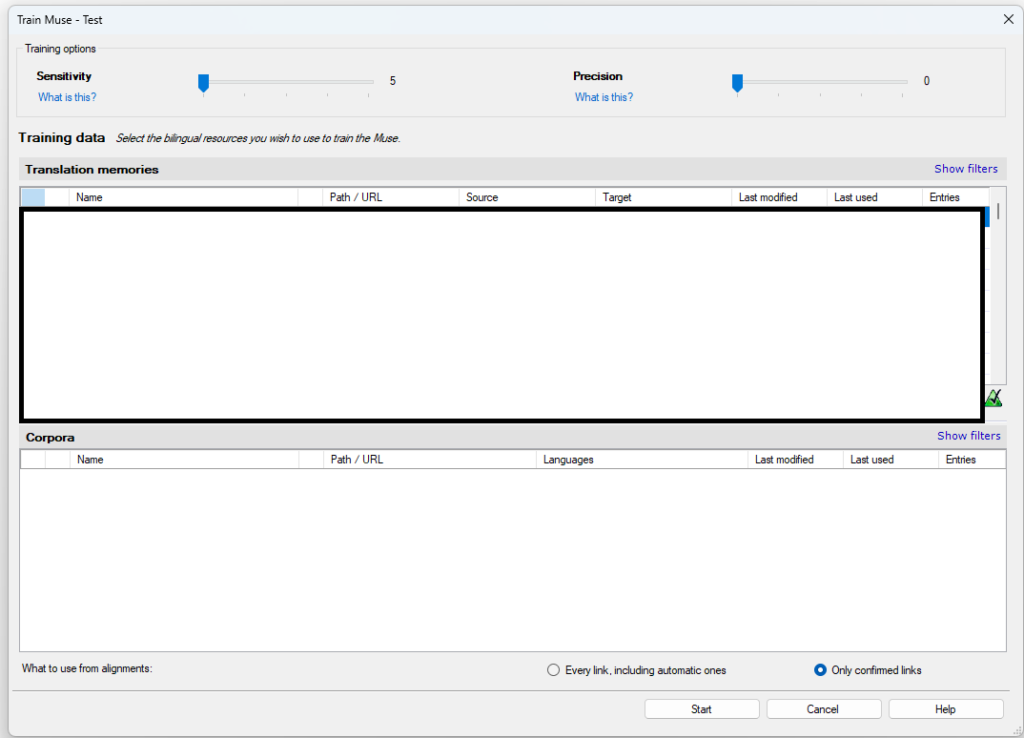
From there, you can select any of your existing resources (TMs and/or Corpora) to be used as training data for the Muse. The Sensitivity slider determines how many times an expression must occur in the input to be included in the Muse, while the Precision slider determines how reliable the extracted expressions must be to be included in the Muse. I suggest running a couple of tests at different sliders levels to find the right balance between accuracy and amount of results.
Please note that all the TM data will be imported as-is, meaning that if you use TMs created in a different CAT tool, such as Phrase, it will retain the default formatting of that TM (so apostrophes will be curved ’ instead of straight ‘ in the suggestions). Always sanitize your data before training!
The training time can take between a few seconds and half an hour, depending on the amount of resources used. Once you’re ready, all that’s left is assigning your newly-created Muse to your project! Note that, unfortunately, you cannot assign a Muse as a default resource on all your projects, so you’ll need to tick that box every time you start a new project. You can, however, set a default Muse in your Project Template settings:

Conclusion
I found that the Muse is one of the MemoQ features that’s not often talked about (including on the official documentation page), so I hope you’ll get a chance to try it out! And if you feel like learning more about the software in general, feel free to check out my other guides:
